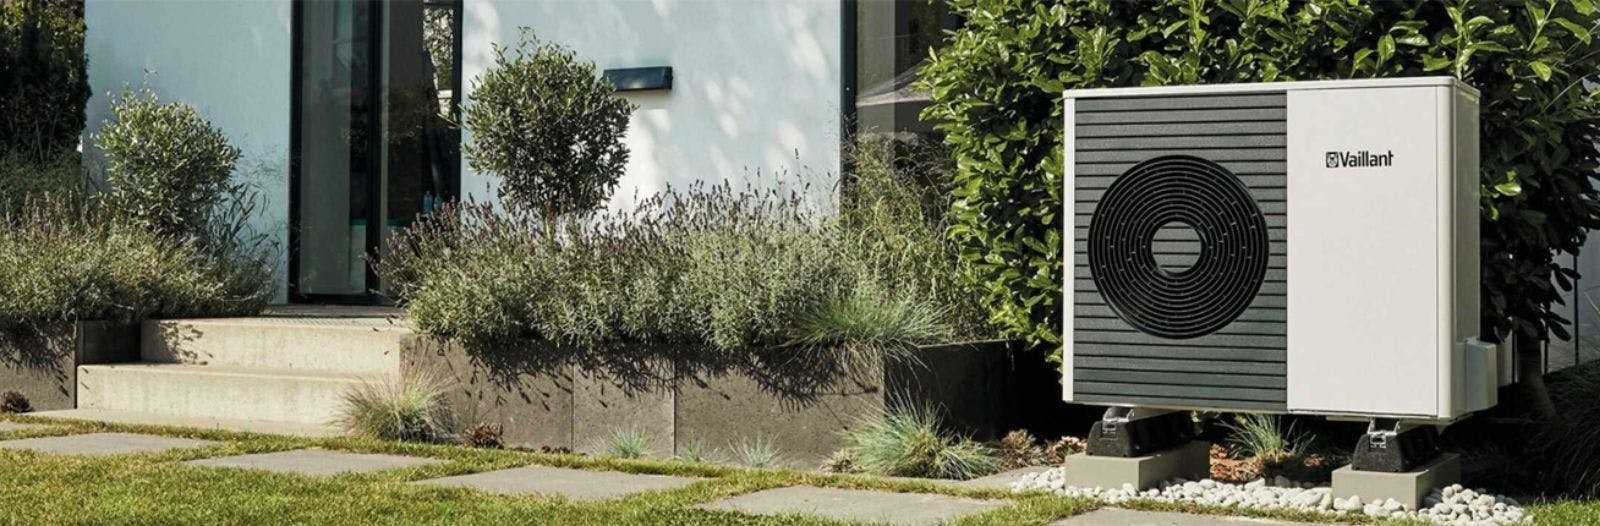
Booking a heat loss survey is one of the most important steps in getting a well designed, efficient heat pump. Knowing what will happen on the day helps you feel prepared, ask better questions, and get more value from the visit.
What a heat loss survey is trying to achieve
The goal of a heat loss survey is to understand how much heat each room in your home loses on a cold day, and how easily that heat can be replaced. Rather than guessing, the surveyor collects detailed information so the heat pump and emitters are properly sized.
This is especially important with low flow temperature systems, where good design is the difference between a cosy, quiet home and one that never quite warms up. The survey also looks at how your home is built, and where improvements to insulation or air tightness might have a big impact.
How to prepare on the day
You do not need to tidy like you would for a house viewing, but a bit of preparation makes the visit smoother and more accurate. It also means the surveyor spends more time on design decisions and less time hunting for access.
Use this quick checklist before they arrive:
Clear access to all radiators, underfloor heating manifolds and thermostats
Ensure the loft hatch, meters and main stop tap are reachable
Unlock or make accessible any extensions, garages or outbuildings that need heating
Have any previous plans, EPC or insulation paperwork to hand if available
Make a note of any rooms that are often too cold or too warm
Step 1: Initial walk through and questions
The visit usually starts with a chat at the door or kitchen table. The surveyor will ask how you use your home, which rooms you spend most time in, and if there are any comfort issues with your current heating.
They will then walk through the house with you, room by room, to get an overview. This is a good time to point out planned changes like an extension, new windows, or insulation you are considering in the next year or two.
Step 2: Measuring rooms and checking construction
Next, the surveyor measures each heated room. They will record the length, width and height, as well as the size and position of windows and external doors.
At the same time, they assess the construction type. This might include:
Whether walls are solid or cavity, how thick they are, and if there is any known insulation. Whether floors are suspended timber or solid concrete, and what sits underneath. The type of roof or loft, and how much insulation is present, particularly above top floor ceilings.
In areas like Kent, where period homes often sit alongside newer extensions, room-by-room assessment is essential because construction can vary from space to space.
Step 3: Windows, doors, ventilation and air leakage
Windows and doors have a big effect on heat loss, so the surveyor will note frame type, glazing type and approximate age where relevant. Draughty single glazing will be treated very differently to modern triple glazed units.
They also make assumptions about ventilation and air leakage. That includes trickle vents, extract fans in kitchens and bathrooms, open fireplaces or flues, and obvious draught paths such as gaps around floorboards or poorly sealed loft hatches. These factors feed into the calculation of how much heat escapes through air movement.
Step 4: Existing radiators, underfloor heating and pipework
A key part of a heat loss survey for a heat pump is understanding how heat is currently delivered. The surveyor will record radiator sizes, types and locations in each room, and whether they are single or double panel, with or without convector fins.
If you have underfloor heating, they will look for manifold locations, zones, pipe spacing and any available design information. They will also note where the hot water cylinder is, or where one could go, and think about practical pipe routes from a likely outdoor heat pump location to the cylinder and main manifolds.
Step 5: Controls, zoning and your preferences
Modern heat pumps work best with thoughtfully planned controls, so the surveyor will ask how you would like to run the system. That might include whether you prefer the whole house at one steady temperature or distinct zones, such as cooler bedrooms and warmer living areas.
They will note existing room thermostats, TRVs and programmers, and talk through options like weather compensation and smart controls. Your preferences here affect how the system is zoned and how the flow temperature is set in the final design.
Step 6: Siting, noise expectations and practicalities
The outdoor unit location is another important part of the visit. The surveyor will look for spots that are practical for pipe runs, allow good airflow, and minimise noise impact on you and neighbours.
They will discuss realistic noise expectations, such as how the unit sounds at full output compared with typical running, and what that will mean for nearby windows, patios or bedrooms. They may also note potential needs for wall brackets, plinths or fencing that does not restrict airflow.
What you receive after the survey
Once all the site data is entered into specialist software, you should receive a clear set of outputs. Done properly, these are far more detailed than a generic EPC or simple rule of thumb estimate.
Typical deliverables include:
Room by room heat loss figures, usually in watts or kilowatts, at a defined outdoor design temperature
Recommended radiator or underfloor heating outputs for each space
Design flow temperature assumptions for the heat pump, often in the 35 to 50 degree range
Notes on any insulation or airtightness upgrades that would change the design or allow a lower flow temperature
A good report will also show how peak demand adds up to a total property heat loss, which then guides the selection of the correct heat pump size and cylinder capacity.
How survey findings shape your final heat pump design
Radiator sizing and zoning
The room by room heat loss figures tell the designer exactly how much heat needs to be delivered to each space. From this, they can size radiators or check whether your existing ones are big enough at the chosen flow temperature.
The survey also highlights natural groupings of rooms that make sense as zones, which can improve comfort and efficiency. For example, bedrooms might be one zone with a slightly lower set point, and living areas another.
Flow temperatures and efficiency
The combination of heat loss data and emitter sizing determines what flow temperature the system needs on the coldest days. The lower that temperature, the more efficient the heat pump generally is.
If the survey shows that certain rooms are limiting factors, the designer can suggest targeted upgrades, such as larger radiators or better glazing, to bring the whole system into a lower flow temperature band.
Noise, siting and overall comfort
The siting notes and pipe route plans from the survey feed into a design that is quiet and unobtrusive in daily life. Choosing a spot with good airflow and thoughtful separation from bedrooms or neighbours helps set realistic noise expectations.
Ultimately, combining accurate heat loss figures, appropriate emitter sizing and sensible controls results in a home that feels evenly warm, runs quietly in the background, and keeps running costs under control.
Next steps after your heat loss survey
Once you have your survey results, the next step is to turn them into a full system design and installation plan. Start by reviewing the report and asking any questions about assumptions or recommended improvements.
If you are ready to move towards a tailored design and install, or you would like to book an EPC or detailed heat loss survey, you can speak to The Heat Pump Guy on 01689 495672 for straightforward advice and a practical route to a well designed heat pump system.